It all started in a tiny, steamy bakery in Bruges, where the scent of dark chocolate was so thick you could taste it in the air. I was supposed to be buying lace, but I followed my nose instead, straight to a glass case displaying the most impossibly glossy, perfectly square brownies, each one a tiny canvas of edible art. The baker, a woman with flour-dusted forearms, called them her “love letters.” I bought one, and as that dense, fudgy bite melted away, I knew my mission for the next Valentine’s Day: I had to learn how to make these at home.
Back in my own kitchen, my first attempts were… well, let’s just call them heartfelt disasters. Cakey bricks, crumbly messes, and one tragic batch where my pink drizzle slid right off like a sad, sugary avalanche. But that memory of that perfect Belgian brownie kept me going. After what felt like a hundred batches (my neighbors became very willing taste-testers), I finally cracked the code. The secret wasn’t just in the chocolate, but in a method that gives you that magical crackly top and a texture so sturdy, you can actually cut and decorate it.
Now, this recipe is my go-to for turning a regular Tuesday into something special or crafting a gift that feels genuinely personal. There’s something so wonderfully satisfying about boxing up these homemade decorated brownies. It feels less like baking and more like creating little edible treasures, a far cry from any store-bought chocolates. So, consider this your invitation to turn your kitchen into a Valentines Bakery. Let’s make a Valentine’s Day brownie box that comes straight from the heart.
Why This is the Perfect Valentine's Day Recipe
- Unbelievably Fudgy: This recipe uses melted butter and a higher fat content, which is the secret to a dense, chewy texture that’s never dry or cakey.
- Picture-Perfect Results: These brownies cut into clean, sharp squares, making them ideal for creating decorated brownies that look like they came from a high-end bakery.
- Gift-Ready: They are sturdy enough to be packaged in a brownie box or mixed with cookies for a custom gift box, making them the ultimate edible present.
- Simple & Straightforward: No complicated steps! You don’t even need an electric mixer. This recipe is designed for home cooks of all skill levels.
Your Valentines Bakery Shopping List
Each ingredient is chosen to create the ultimate fudgy brownie experience. Here’s what you'll need:
- Unsalted Butter: We'll melt it to create that signature dense, fudgy texture. For a dairy-free brownie option, use a high-quality plant-based butter stick.
- Granulated & Brown Sugar: A mix of both gives you the perfect balance of sweetness, moisture, and that amazing crackly top.
- Large Eggs: These act as a binder and give the brownies richness and structure.
- Vanilla Extract: A non-negotiable for enhancing the deep chocolate flavor.
- All-Purpose Flour: Just enough to give the brownies structure without making them cakey.
- Unsweetened Cocoa Powder: Use a good quality one! This is where most of your rich Valentine's Day chocolate flavor comes from.
- Salt: A crucial ingredient to balance the sweetness and bring out the chocolate notes.
- Semi-Sweet Chocolate Chips: We'll use these both inside the batter and for melting on top for decoration.
Crafting Your Brownie Box: Step-by-Step
Follow these instructions closely, and you'll be on your way to brownie perfection.
### Make the Brownie Batter
- Prep Your Pan: Preheat your oven to 350°F (175°C). Line an 8×8 inch baking pan with parchment paper, leaving some overhang on the sides to act as "handles." This is a game-changer for lifting the brownies out cleanly later.
- Melt Butter & Sugars: In a medium saucepan over low heat, melt the butter. Once melted, remove it from the heat and stir in the granulated and brown sugars until fully combined. The mixture will look grainy.
- Add Eggs & Vanilla: Whisk in the eggs one at a time until the batter becomes thick and glossy. When you lift the whisk, the batter should fall off in slow, thick ribbons. This is the secret to that shiny, crackly top! Stir in the vanilla extract.
- Combine Dry Ingredients: In a separate bowl, whisk together the flour, cocoa powder, and salt.
- Fold It All Together: Gently fold the dry ingredients into the wet mixture using a spatula. Be careful not to overmix! Stop as soon as you no longer see streaks of flour. Overmixing develops gluten and leads to tough brownies.
- Add Chocolate Chips: Fold in 1/2 cup of the chocolate chips. The batter will be thick and luscious.
### Bake to Perfection
- Pour and Bake: Spread the batter evenly into your prepared pan.
- Time it Right: Bake for 25-30 minutes. The edges should look set, and the center should be mostly set but still a little soft. A toothpick inserted into the center should come out with a few moist, fudgy crumbs attached, not wet batter. This is the key to fudgy, not cakey, brownies.
- The Most Important Step: Cool Completely! Remove the pan from the oven and let it cool completely on a wire rack. I know it's tempting, but do not cut into them while they are warm! For extra clean cuts, I recommend chilling the cooled brownies in the fridge for at least 30 minutes before slicing.
### Decorate for Valentine's Day
- Lift and Cut: Using the parchment paper handles, lift the entire slab of brownies out of the pan. Place it on a cutting board and slice into squares.
- Melt and Drizzle: Melt the remaining chocolate chips in the microwave in 30-second intervals. Drizzle the melted chocolate over the cut brownies.
- Add Some Love: Before the chocolate sets, add Valentine's themed sprinkles, a dusting of powdered sugar, or even some freeze-dried raspberry pieces for a pop of color and flavor.
Expert Tips for a Flawless Brownie Box
- Don't Overbake: The biggest mistake people make is overbaking. Pull the brownies out when they still look slightly underdone in the very center. They will continue to cook from the residual heat of the pan.
- Use Room Temperature Eggs: This helps them incorporate into the batter more smoothly, creating a more uniform and glossy texture.
- Clean Cuts Every Time: For perfectly sharp edges, run a large, sharp knife under hot water, wipe it dry, and then make a cut. Repeat wiping the knife clean between each cut.
- Parchment Paper is Your Best Friend: Seriously, don't skip this step. It guarantees your brownies will come out of the pan without any breakage.
Fun Variations & Brownie Box Ideas
This recipe is a fantastic base for all sorts of brownie box ideas.
- Raspberry Swirl: Before baking, dollop a few spoonfuls of seedless raspberry jam on top of the batter and gently swirl it with a knife.
- Cream Cheese Swirl: Beat together 4 oz of softened cream cheese, 1 egg yolk, and 2 tablespoons of sugar. Dollop and swirl this over the brownie batter before baking.
- Espresso Kick: Add one teaspoon of instant espresso powder along with your dry ingredients to intensify the chocolate flavor.
- Assembling your Valentine Treat Boxes: Mix and match! Cut some brownies into hearts using a cookie cutter and arrange them in a gift box with chocolate-covered pretzels, homemade cookies, and other sweet treats.
Storage & Gifting Information
To ensure your bakery box is perfectly fresh, follow these storage tips:
- At Room Temperature: Store the uncut slab of brownies (or cut squares) in an airtight container for up to 4 days.
- In the Fridge: You can refrigerate them for up to a week. They will become even fudgier when chilled!
- For Gifting: I recommend baking the brownies the day before you plan to gift them. Let them cool completely overnight, then cut and decorate them the next day for maximum freshness.
Frequently Asked Questions
Can I make these brownies dairy-free?
Absolutely! To make **dairy-free brownies**, simply substitute the unsalted butter with an equal amount of high-quality plant-based butter sticks (not margarine from a tub). Also, ensure you use dairy-free chocolate chips. The texture and flavor will be just as delicious.
Can I use a box brownie mix for this?
Yes, if you’re short on time, you can elevate **box brownies** for your gift box. I recommend using a fudgy-style mix. To make it richer, substitute the water called for on the box with whole milk or coffee, and substitute the oil with an equal amount of melted butter. Then, proceed with the decorating and gifting ideas!
How far in advance can I make these for a gift box?
These brownies have great staying power. You can bake them up to 2 days in advance. Store them uncut in an airtight container at room temperature. Cut and decorate them on the day you plan to assemble your **brownie box** for the best presentation and freshness.
What are some other easy decoration ideas for these brownies?
Beyond sprinkles, you can top them with a simple chocolate ganache, a dusting of cocoa powder, flaky sea salt, or finely chopped nuts. For a festive touch, use a heart-shaped stencil and powdered sugar to create a beautiful design on top of each brownie square.
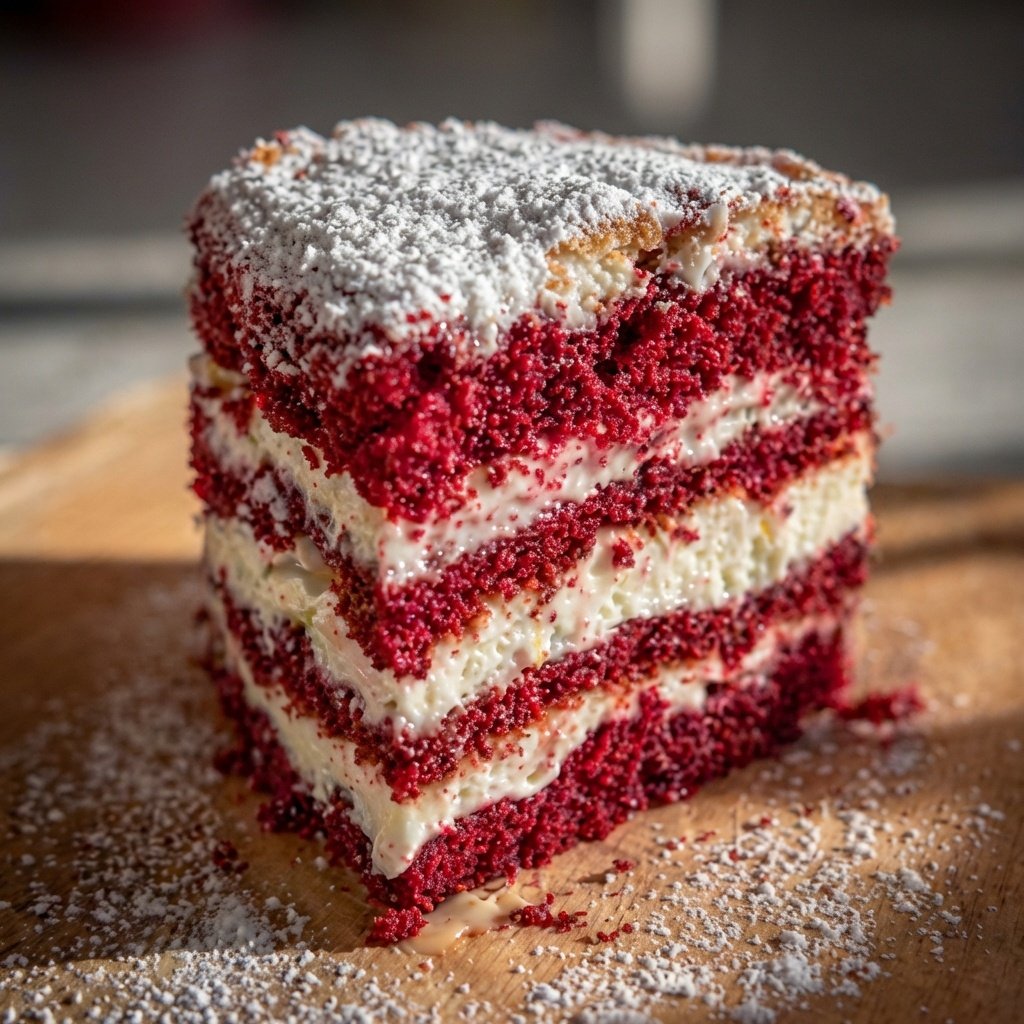
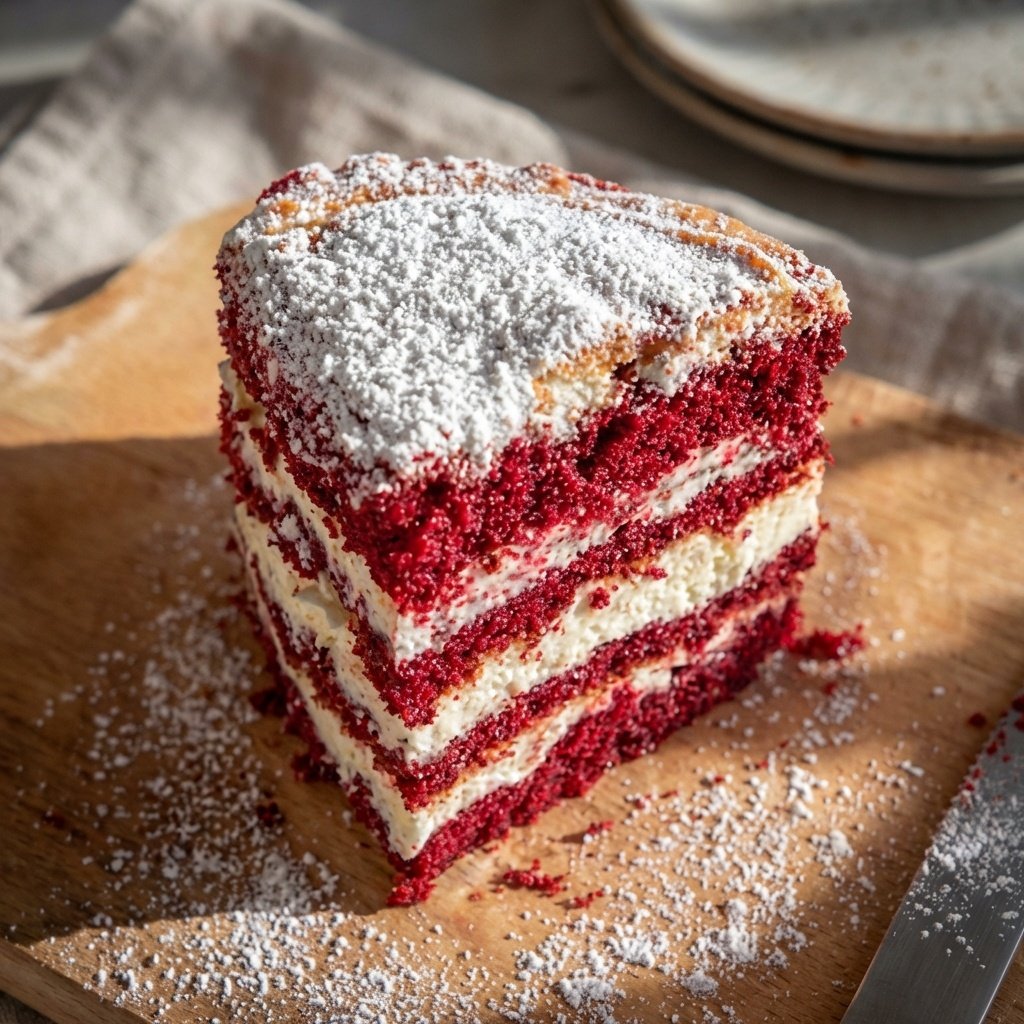
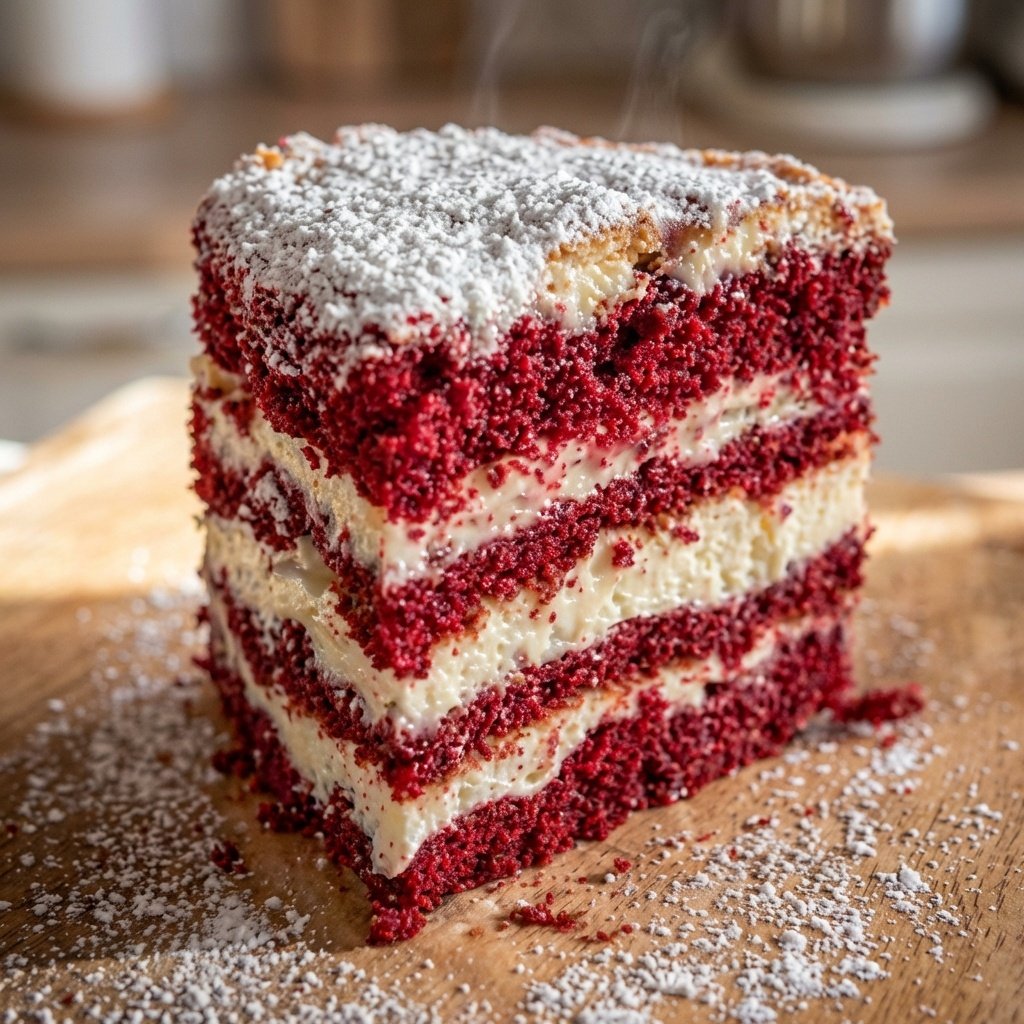
Ultimate Valentines Bakery Sweet Treats: A Marbled Love Cake
Ingredients
For the Marbled Love Cake
- 2 cups all-purpose flour provides structure and body
- 1 cup granulated sugar for a perfectly balanced sweetness
- 1/2 cup unsalted butter softened to room temperature
- 2 large eggs for moisture and binding
- 1 cup whole milk ensures a moist, tender crumb
- 1 tsp vanilla extract adds warmth and depth of flavor
- 1 tsp baking powder the leavening agent for a light texture
- 1/2 tsp salt to enhance all flavors
- red food coloring a few drops for a vibrant Valentine's color
- powdered sugar for dusting, optional
Instructions
- Preheat your oven to 350°F (175°C) and grease your baking pans to ensure the treats bake evenly and don't stick.
- Cream the softened unsalted butter and granulated sugar together in a large mixing bowl until the mixture is light, pale, and fluffy, about 2-3 minutes with an electric mixer.
- Add the large eggs one at a time, mixing thoroughly after each addition to fully incorporate them into the butter and sugar mixture.
- Stir in the whole milk and pure vanilla extract until the wet ingredients are smooth and well combined.
- Whisk together the all-purpose flour, baking powder, and salt in a separate bowl to ensure the leavening agent is evenly distributed.
- Gradually add the dry flour mixture to the wet ingredients in three parts, mixing gently on low speed until just combined. Be careful not to overmix.
- Divide the batter evenly into two separate bowls. Add a few drops of red food coloring to one half and stir until you achieve a vibrant Valentine's red.
- Alternate spoonfuls of the plain and red-colored batter into your prepared baking pans to create a beautiful marbled effect.
- Bake in the preheated oven for 30-35 minutes. Check for doneness by inserting a toothpick into the center; it should come out clean or with a few moist crumbs attached.
- Allow the treats to cool in the pans for 10 minutes before transferring them to a wire rack to cool completely. Dust generously with powdered sugar before serving.
Equipment
- Electric mixer
- Mixing bowls
- Baking Pan